Planning Your Mix
The best way to start your mix is think ahead with the end goal in mind. You most likely have a vision of what you want your finished podcast to sound like. Your goal is to maintain that sound from the beginning to the end of your podcast.
In this article
- Planning Your Mix
- Soloing Specific Sounds In Your Mix
- Volume Faders – Control the Volume
- Shelving Filters – Increase and Decrease Sound
- Bandpass Filters – Fully Increase or Decrease Sound
- Parametric Filters – Surgical Editing Tools
- Compressors – Reduce Dynamic Range
- Expanders – Increase Dynamic Range
- Normalization – Clarify audio and reduce distortion
- Production Techniques
- Summary – Key Points About Mixing Your Podcast
Soloing Specific Sounds In Your Mix
Highlighting focal points within your podcast is a great way to fine tune the sonic quality of specific tracks
Enhance the sonic quality of your podcast by isolating individual tracks using the solo button. By pressing Solo, all other tracks will be muted allowing you to only hear the track you have designated. Here are some special effects that you can apply to either a selected region of audio or to your entire production.
Mixing Rule of Thumb: Focus on the host. The host’s voice should be the loudest and clearest element of your mix.
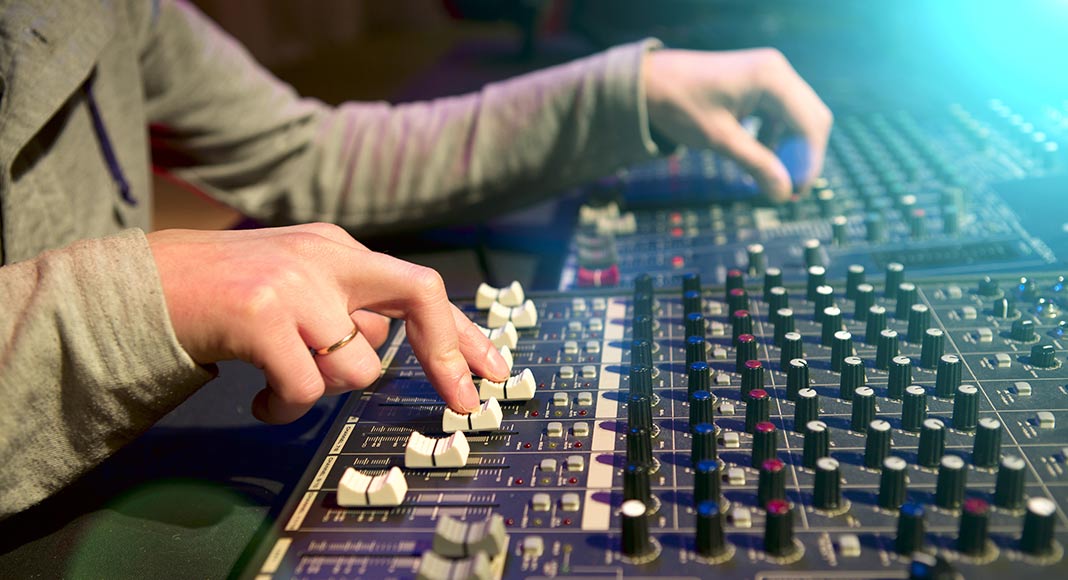
Volume Faders – Control the Volume
Each track in your mix has it own fader that controls the volume level.
Shelving Filters – Increase and Decrease Sound
As the simplest form of filtering, shelving EQ increases or decreases all frequencies above or below a fixed frequency. A bass shelving filter, also called a low-pass filter, increases or decreases everything below its fixed center frequency. Likewise a treble shelving filter, also called a high-pass filter, increases or decreases everything above its fixed center. A single control typically adjusts the amount of increase or decrease, also known as boost or cut.
These filters are useful for making broad changes like reducing boomy bass and wind noise. Encoders can easily be overloaded by too much bass or treble, so it is recommended that you use these filters to cut or decrease high and low frequencies to prevent digital distortion.
Bandpass Filters – Fully Increase or Decrease Sound
These filters can be used to increase or decrease audio on both sides of a center. Bandpass filters are commonly used as midrange filters, because they have little effect on either high or low frequencies. The familiar graphic equalizer is just a set of bandpass filters tuned to different center frequencies.
More sophisticated versions, called sweepable bandpass filters, have an additional control allowing you to change the center frequency. Bandpass filters are useful for increasing the intelligibility of a speaker without increasing hiss or background noise. A variation of the bandpass filter is the notch filter, which increases or decreases all frequencies except those around the center frequency.
Parametric Filters – Surgical Editing Tools
Rule of Thumb: Decrease rather than increase frequencies wherever possible. Decreasing undesired sounds is always less obtrusive, and increasing too much can make a track too loud and lead to digital distortion when encoding.
Compressors – Reduce Dynamic Range
A compressor’s basic function is to reduce the dynamic range of an audio recording, which is the difference between the loudest and softest sounds in a recording.
By reducing the volume of the loudest sounds, a compressor lets you raise the level of the entire audio track, making it all sound louder than it actually is. Compression can be a big help in achieving intelligible audio tracks with a more uniform volume that will sound great on any stereo system.
A compressor consists of a level detector that measures the incoming signal, and an amplifier that controls the gain by the level detector.
A Threshold control sets the level at which compression begins. Below the Threshold, the compressor acts like a straight piece of wire. But when the input level reaches the Threshold, then the compressor begins reducing its output level by an amount determined by the Ratio control.
The Ratio control establishes the proportion of change between the input and output levels. If you set the compression Ratio to 2:1, then when the input signal gets twice as loud, the output signal will increase by only half.
If you set the Ratio to its maximum (10:1 or more), the compressor becomes a “limiter” that locks the maximum level at the Threshold.
While a compressor can level out a recording, high levels of compression can also introduce artifacts including “pumping”, in which there is an audible up and down change in volume of a track, or “breathing”, which sounds like someone breathing as the background noise level goes up and down.
Expanders – Increase Dynamic Range
An expander is the opposite of a compressor. As the level of the audio signal gets louder, the expander’s amplifier turns up further, making loud signals even louder. An expander can be used to reduce noise in a process called downward expansion. In this case, you set the Threshold just above the level of the background noise. The expander will then raise the volume of everything above the Threshold, but won’t change anything below the Threshold, thereby lowering the perceived background noise.
Normalization – Clarify audio and reduce distortion
Normalizing increases the gain of the audio file until its loudest point is at maximum level. The overall signal level is now higher, which makes for clearer audio, and also gives the encoder more bits of data to work with and reduces encoding distortion.
The only downside of normalizing is that it increases the noise as well as the audio signal so it should be used carefully. It should be your last step before encoding, and you may not need it at all.
Production Techniques
Beef up the production by mixing in your show intro, imaging, and musical transitions
Remember when you wrote your podcasting script? Now is the time to mix in your show intro, the section that announces the name of your podcast and the episode number. It is most effective if this is the voice of an announcer, distinct from your own. Try fading your background music in when a new segment beings. Lower the volume level of the music when you are speaking so that your listeners can hear every work you say. At the end of the segment, fade your background music out. Use musical transitions between the various segments of your podcast. These musical transitions are known as bumpers, stages or sweepers.
Summary – Key Points About Mixing Your Podcast
In this section you balanced the volume levels of the voice over(s), music and sound effects. You are now ready to export your podcast recording into an MP3.
Leave a Reply