In the world of advertising, a captivating voice can make all the difference between a forgettable ad and a memorable one. The audio quality of your advertisement plays a pivotal role in engaging your audience, conveying your message effectively and leaving a lasting impression. Achieving crisp and clean audio is essential to ensure that your ad stands out from the competition. Let’s explore some post-production audio hacks that will help you achieve professional-grade audio for your ads, ensuring that they sound flawless and leave a lasting impression.
Sign Up for Free Today
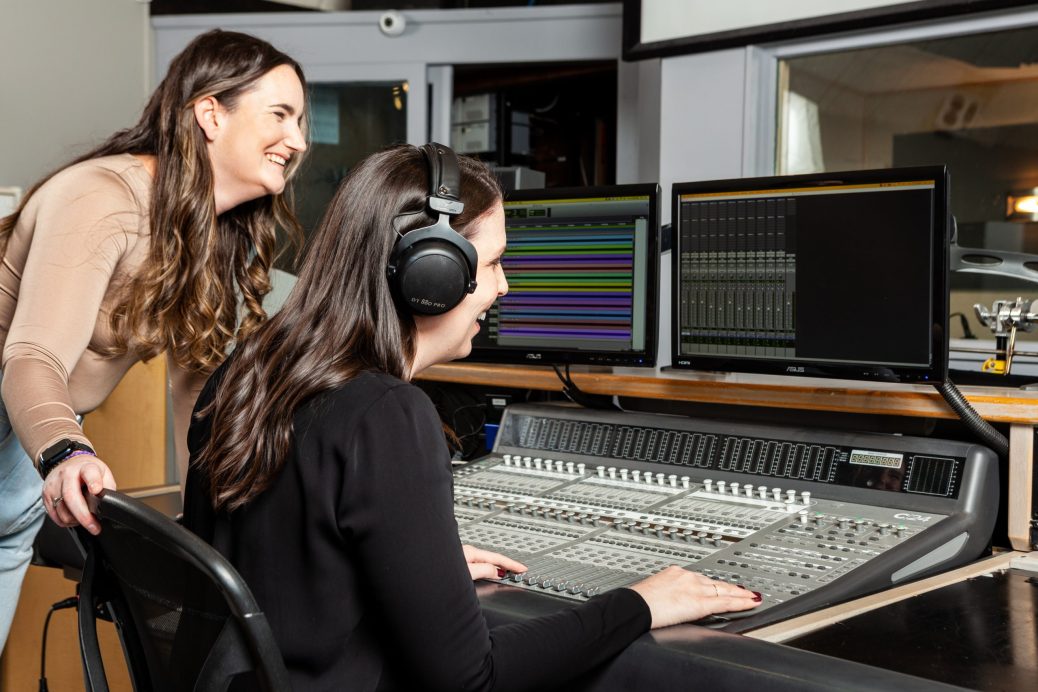
Find the perfect voice for your job today, or sign up as a talent to start booking voice over work on Voices.
In this article
- Invest in Quality Recording Equipment
- Optimize Your Recording Environment
- Use Proper Microphone Technique
- Record Multiple Takes
- Editing
- Remove Background Noise
- Equalization (EQ)
- Compression
- De-Essing
- Time and Pitch Correction
- Add Background Music and Sound Effects
- Final Mixdown
- Test on Different Playback Devices
- Export in High-Quality Format
- Conclusion
Invest in Quality Recording Equipment
Before the post-production process, start with high-quality recording equipment. If you’re working with voice talent, ensure they have a professional-grade microphone, a quiet recording space and pop filters to reduce unwanted noise. A clean and clear recording is the foundation of a crisp and clean ad.
Optimize Your Recording Environment
Even the best microphone can’t compensate for a noisy recording environment. Background noise can ruin an otherwise perfect recording, so it’s essential to create a noise-free space. Consider using acoustic panels or blankets to reduce sound reflections and make sure your recording space is free from appliances, fans, and other sources of noise. Silence your phone and other devices and ensure that no interruptions occur while recording.
Use Proper Microphone Technique
Besides having the right equipment and environment, understanding microphone technique is crucial. Train your voice talent to speak at a consistent distance from the microphone to maintain a steady audio level. Experiment with mic positioning to find the sweet spot that captures the best sound quality for your particular microphone.
Record Multiple Takes
Recording multiple takes of the same script can be a lifesaver during the post-production phase. Encourage your voice talent to provide a variety of reads and intonations. Having options during editing allows you to choose the best delivery for your ad.
Editing
Remove Background Noise
Once you have your recorded audio, the post-production process begins. The first step is to remove any unwanted background noise. Use audio editing software (such as Adobe Audition or Audacity) to identify and eliminate hisses, hums, clicks and other distracting noises. You can also use noise reduction tools to further clean up the audio.
Equalization (EQ)
Equalization, or EQ, is a powerful tool for shaping the tone of your voice tracks. Use EQ to enhance the clarity and presence of the voice while cutting out any unwanted frequencies. A crisp and clear sound is produced by enhancing the midrange frequencies (between 1 kHz and 4 kHz), which is where the human voice has the most intelligibility.
Compression
Compression helps balance the dynamic range of your audio, ensuring that quiet parts are louder and loud parts are quieter. This evens out the volume and makes the voice over more consistent and professional-sounding. Be careful not to over-compress, as it can lead to unnatural results.
De-Essing
De-essing is essential for removing sharp “s” and “sh” sounds, known as sibilance, which can be distracting in an ad. Use a de-esser plugin or manually reduce the sibilant frequencies to achieve a smooth and natural sound.
Time and Pitch Correction
Sometimes, voice recordings may have slight timing or pitch issues. Correcting these can make a big difference in the quality of your ad. Audio editing software allows you to adjust timing and pitch as needed without distorting the voice.
Add Background Music and Sound Effects
To enhance the impact of your ad, consider adding background music and sound effects. Choose music that complements the mood and message of your advertisement. Carefully balance the music and voice over to ensure they don’t compete but rather complement each other.
Final Mixdown
In the final mixdown stage, bring together all the elements of your ad: voice, music and sound effects. Make sure that they are well-balanced and work together to deliver your message. Pay attention to volume levels, fades and transitions for a polished end product.
Test on Different Playback Devices
Before finalizing your ad, test it on various playback devices to confirm that it sounds crisp and clear everywhere. Listen on headphones, computer speakers and mobile devices to catch any issues that were missed during production and editing.
Export in High-Quality Format
Finally, export your ad in a high-quality audio format such as WAV or FLAC to preserve the audio fidelity. Lower-quality formats like MP3 can introduce compression artifacts that degrade the overall sound quality.
Conclusion
In the competitive world of advertising, achieving crisp and clean audio in your ads is a must. These post-production audio hacks will help you transform your voice recordings into professional-grade advertisements that leave a lasting impression on your audience. By investing in quality recording equipment, optimizing your recording environment and mastering the art of audio editing, your ads are more likely to sound impeccable and stand out from the crowd. Remember that post-production is all about details, so every step counts toward making a memorable and effective ad.
Leave a Reply