After you’ve auditioned for a job and booked it, what are your next steps? In this video (and blog post) you’ll learn how to accept the project agreement, upload the final files, complete your job and ultimately get a 5 star review!
In this article
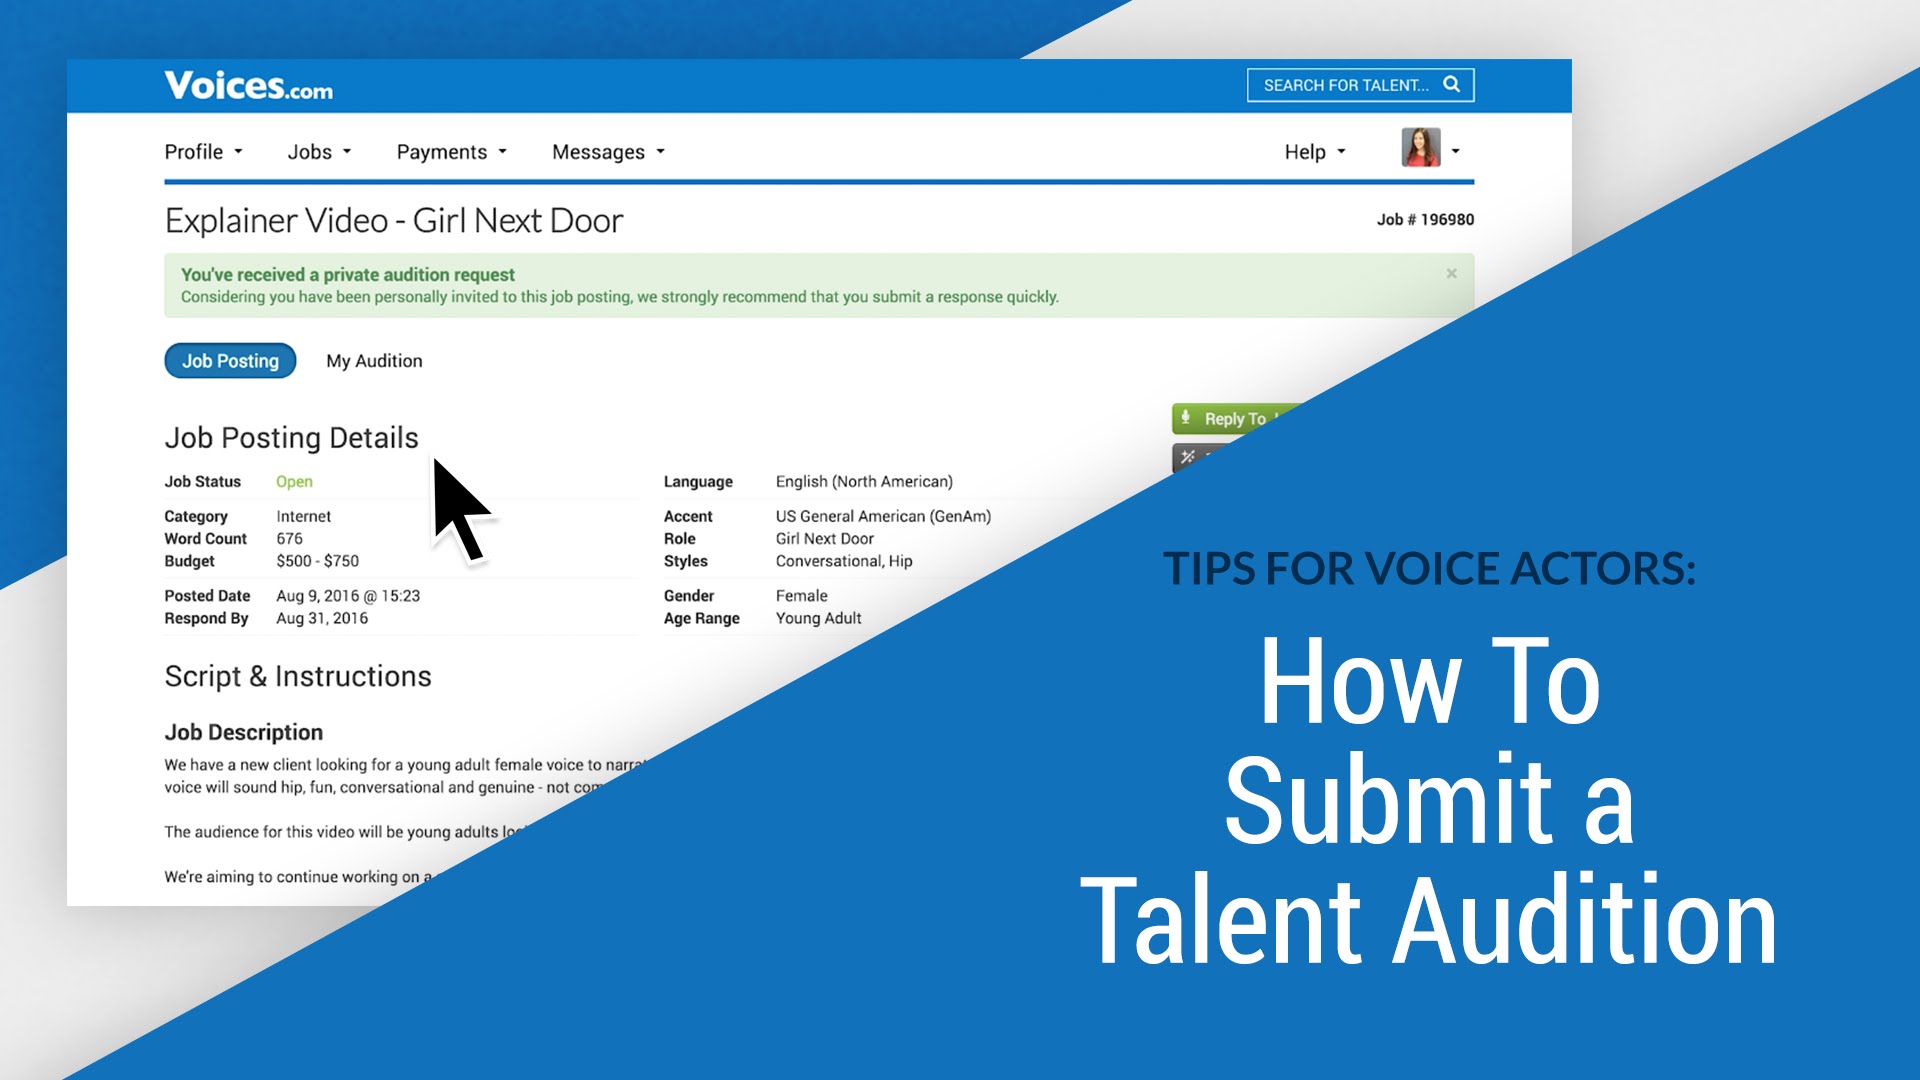
Getting the Gig
After the client reviews the auditions submitted to their job and chooses the talent they would like to hire, they’ll award the job to the talent. To do this, they’ll click the ‘award job’ button.
The client will now complete the agreement stage. You’ll receive an email letting you know that a deposit has been made and that the job has been awarded to you. Once you log back into your account, you can review the agreement. It’s super simple!
- Go to jobs, then to awarded to get to the job.
- Click on the title or job number to open the job.
- Go to the agreements tab or click on the green view agreements button on the right.
- Review the payment terms. You’ll see the delivery date for the job to be completed by, any additional instructions that the client has for you and the final script.
If you’re not interested in the job or are unable to complete the job as per the instructions you can decline the job by clicking decline agreement. After you decline the agreement someone in our support department will reach out to you to offer their help. If they can assist you or the client in any way to help the job move forward then they will at this time.
Questions About the Job?
If you have a question for the client that you’d like to ask before accepting the agreement go to messages. There will be a message there from the client with final instructions. Click on the subject line of the message to open it.
Type your question or comment in the box here and then click send message.
To get back to the agreement click agreements.
If you would like to call or email the client you can use their contact information here. You will always see their information after they’ve awarded the job to you. They’ll be able to see your information here too.
Accepting the Job and File Delivery
If you don’t have any additional questions for the client and you’d like agree to their terms and work on the job, you’ll click accept agreement.
When you’ve accepted the agreement you’ll need to record the final files and send them to the client. Once the files are ready and saved to your computer in the file format requested by the client you can send them via Voices. If the client asks for you to email them the files we suggest that you both email them to the client and upload them here. This allows us to have a track record to refer to if needed.
To upload the files directly to the site go to the job and click the files tab. At the top either click the add files button in the upper left or drag and drop your selected files in the blue upload section.
You can upload almost any file type, including MP3, WAV or AIFF. There is a file size limit of 1GB per file, which is typically plenty of room for you to upload files for your client.
If you should need to remove any files from this section before uploading them click the delete button on the right.
When you’re satisfied with the files you have queued click upload. Your files will move one by one from the blue upload section at the top to the white section at the bottom as they’re uploaded.
Once you have successfully uploaded your files don’t forget to click request approval to alert the client that there is new material available for review.
Your client can then visit their account on Voices to download and review the file(s). However if they would like an edit, the Files tab has a built-in Request Edit and an Approve File function for ease of use.
Finishing Up Your Job
Pro tip for you! If you have clicked into the Files tab and the + Add Files button does not appear, check the Agreements tab for the job. The Files tab remains locked until the job Agreement has been accepted.
You’ll wait for the client to approve it. After waiting at least 7 days to allow the client time to approve the files, you can ask for the client to release the funds. To do this go to the payments tab and click request release. After clicking the button a message will be sent to the client asking them to release the funds.
Typically clients release payment after a couple of days. However, if payment is taking a longer than reasonable time, please reach out to our customer support department ([email protected]). They will reach out to the client on your behalf and give them a chance to release the payment or ask for revisions. If we don’t hear from them within 21 days of reaching out then we will release the funds for them.
After the client releases the funds you can leave your review. A review can only be obtained through work completed on Voices when SurePay was used to make the payment. To leave a review click on reviews and then leave feedback. Then choose the number of stars you would like to give for this review and if you’d like write a comment to go with it.
As long as you make the process enjoyable for the client and provide them with a stellar experience, you’ll be well on your way to receiving a 5 star review.
Leave a Reply